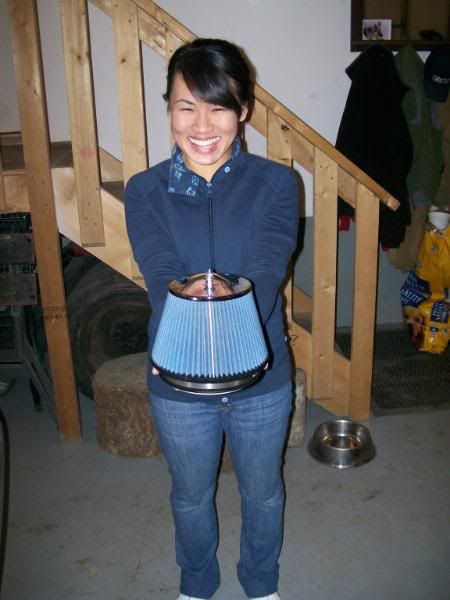
The Intake I decided to choose was the Jim Wolf Pop Charger. When it arrived, the first thing I noticed was that it was a lot larger then I expected; In fact at first glance I didn’t think it would fit.
Anyway, back to the install.
The first thing I was taught to do when removing the nose panel on a z32 was to mark it with tape. This makes it a lot easier to line the hood back up when reinstalling it.
The nose panel took a lot of fidgeting to loosen. Once I got it off this is what you see:
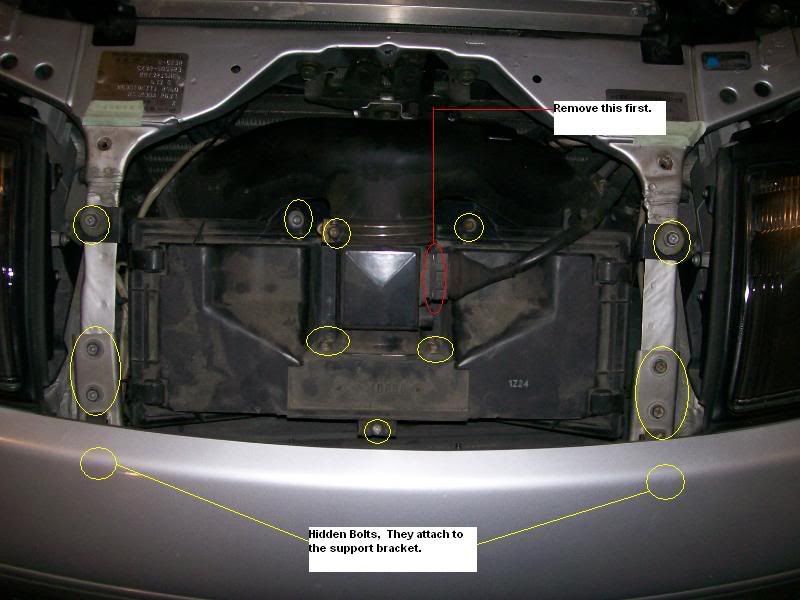
For whatever reason the instructions sent to me from JW tech. were inaccurate. This could be due to the fact that my car is a JDM car. Either way, I marked the locations of the bolts you need to know about so you don’t make the same mistakes as I did. NOTE: In addition to these locations there were two bolts that attach to the air damn underneath the stock air box.
1) Remove the MAF (red circle). There is an aluminum clip that secures this. I used a set of glass screw drives to open this clip and it comes off easily.
2) Remove the four long scews that hold the top of the air box onto the bottom. Once these are removed you can pull off the top of the intake:
3) Next, remove the clamp screw that holds the MAF in place.
4) Once the plug is removed and the clap is loosened, the MAF should slide out with a bit of twisting.
5) Remove the rest of the bolts that are visible.
6) There are two bolts attached to the support brackets that are impossible to see. You must take these off to save you a lot of pain in the near future. For some reason (again it could be due to my car being a JDM) these bracket screws are connected directly to the air box.
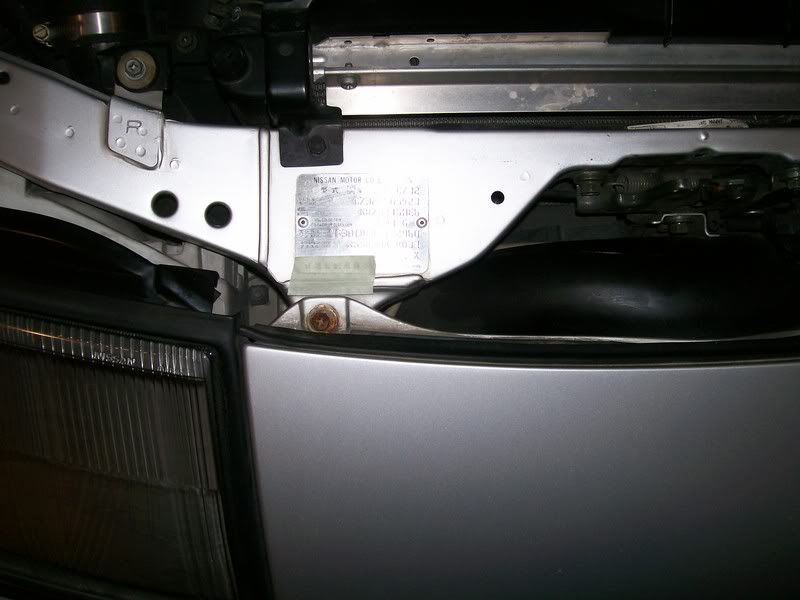
NOTE: Here is where you must remove the bolts attaching the air damn (under the filter) to the air box. I was unaware until way to late that this was attached. It is not too important since the air damn can be removed all together but still pissed me off. Here is a picture of what I am talking about.
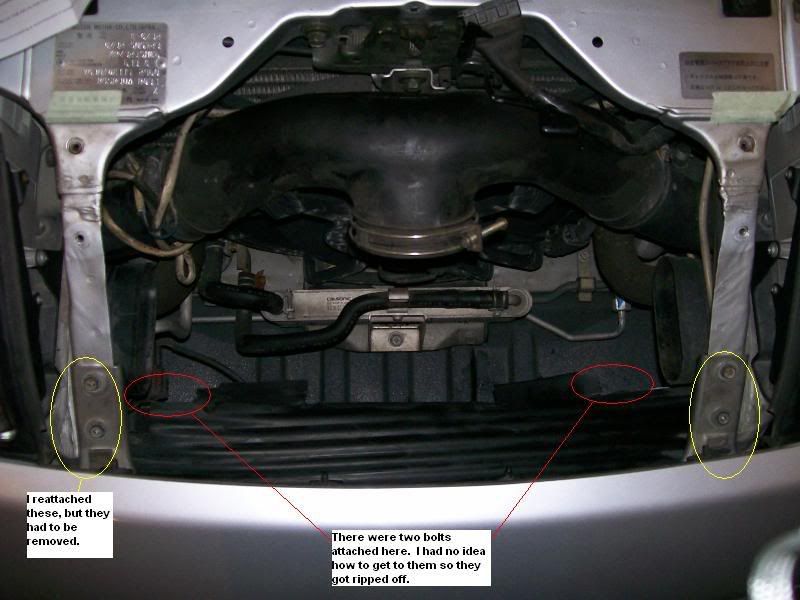
As you can see the location of the two red circles are where the bolts were in my car. Not sure not to remove these without taking off the bumper.
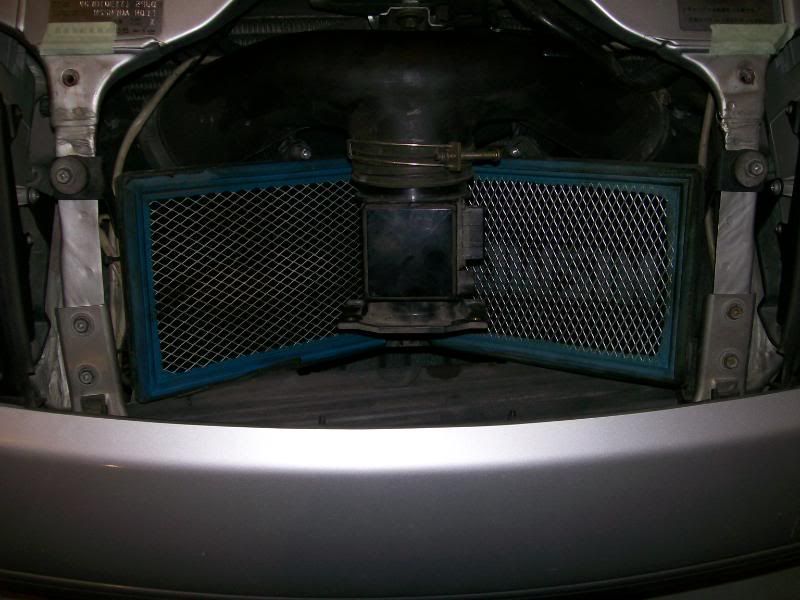
7) After these bolts are removed (or not in my case) you can push the air box down and sort of slant it. This allows you to pull it out with minimal effort. A little maneuvering may be required since this air box is huge.
8) Attach your MAF to your intake with the supplied hardware:

9) Another optional step would be to remove the extra ducting that was used by the old intake. I left mine in since it requires the removal of the bumper to get at.
10) When putting in the new intake, first poke a hole the size of the screw on top of your intake into the air dam.
11) Place the intake into the empty opening and put the screw into the hole you poked.
12) Reattach the plug into your MAF and refasten all the bolts and clip.
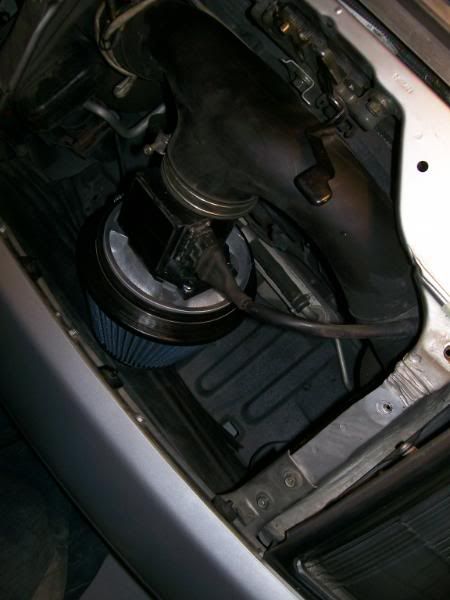
13) At first your intake may be to far up (and rubbing against the metal of your bumper. I just pushed my hosing downward until it sat correctly. Then secure it to the air dam. (The hose you see is for the headlight washers... they are not on my car so I dont use it).
4) Reattach your nose panel and line it up with your hood so that the gap is not unequal.
all done :D.
I also installed a turbo timer around the same time… I will update my site about that gong show at a latter date. The harness on JDM cars is different then domestic but I didn’t want to cut any wires…. Tune in next time to see the dramatic conclusion of…. Turbo timer pissing me off.
Next Major step: 3'' downpipes, test pipes, exhaust. Then the JW ECU upgrade.

No comments:
Post a Comment